Yellow Birdy Folding Bike Touring Upgrades

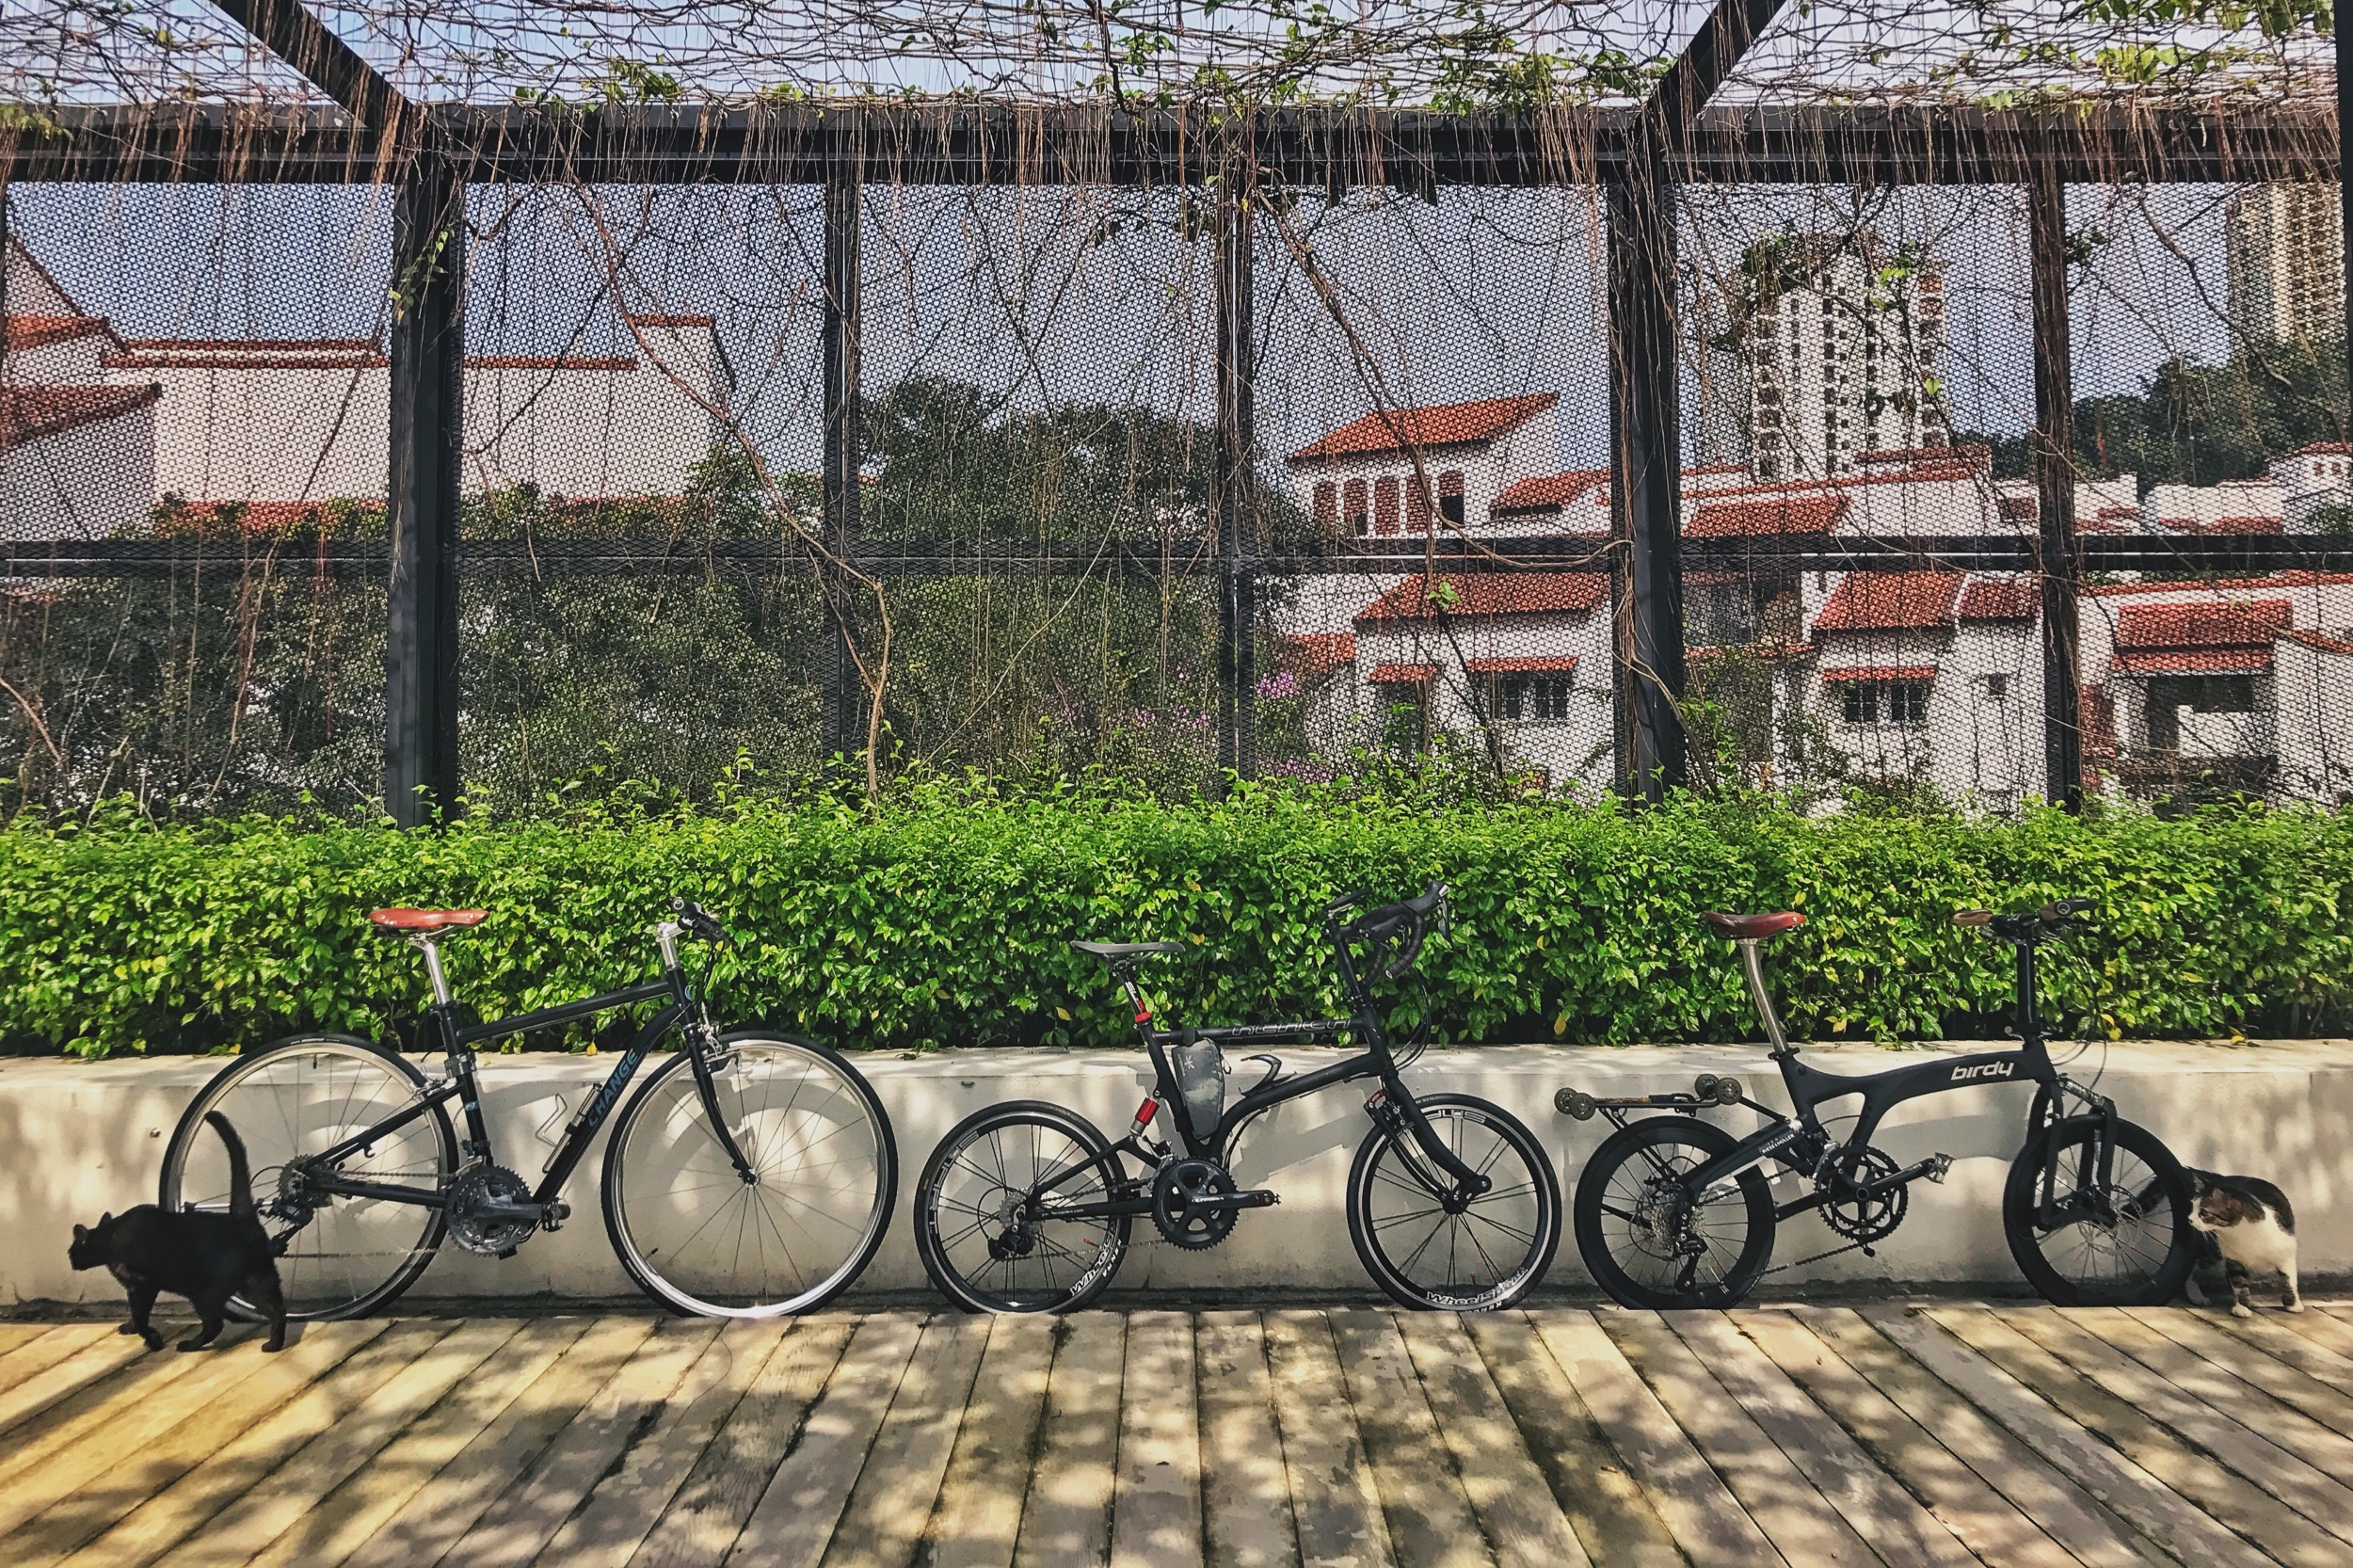
I own a Birdy 2 standard model - Yellow. As my previous article explained, the standard Birdy is good enough for daily commuting and leisure rides. However, I wanted to do more than just that, such as:
Long rides over the weekend (Yes!)
Touring (YAY!!)
At one point in my life, I had a slipped disc. Not from riding per se, but from a combination of a nasty fall, 10-plus years of compression on my lumbar from distance running, races and riding, as well as not enough stretching or counter movements.
I’ve more than just recovered from the injuries and have gotten stronger, but I’ll save that story for another day. And yes, both Nadiah and myself have back problems. We have known each other that long, and we share similar issues when cycling.
Besides having to consider these issues, I love touring! I’ve experienced touring on my road bike so I know the importance of a proper set up; comfort for long rides and ease of packing are the two utmost important factors for me. Upgrades for my Birdy were designed to serve these two purposes.
Here’s what I have changed (so far!). This is not a technical review, just what I wanted and what I feel is right for my personal needs. (Plus, Eka is the master of technical reviews ☺ ).
Ride Essentials
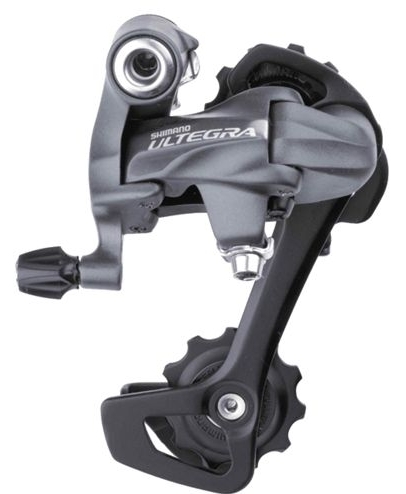
Gear Set: Upgraded from Shimano Alivio 8-speed to:
Shimano Ultegra rear derailleur
Shimano 10-speed front derailleur
Shimano SLX 10SP 11-32T cassette
Added a second chainring, new shifters and new chain
This upgraded setup gave me a total of 20 speeds. The main reason for these upgrades – touring involves riding through different terrains, including steep hill climbs, and having a second smaller crank set just helps make tackling these easier. Eka and Nadiah call them granny gears, but at one point or another – all of us resorted to using them haha. Secondly, more gear options allow you to go faster in general. If you’re riding in a group, having greater gearing range allows you to suit the group’s speed and pace.

Tyres: I retained the 18-inch size but switched to Schwalbe Kojak tyres, for several reasons:
The tyres are slimmer, so the bike packed quite neatly when folded.
These are slick tires made for riding on tarmac, ensuring a smoother ride.
The slicks are also perfect for touring, because they are lightweight but resilient even in wet conditions.
Most of my weekend rides and longer routes are on paved roads, but during the last couple of tours, we ended up on fairly bumpy paths and went off-road onto gravel and dirt lanes. The Schwalbe Kojaks held up well, but if you’re planning similarly bumpy rides, you’re better off sticking to the standard issue Marathon tyres.
*Please read our posts on touring in Noto, Japan and Yogyakarta, Indonesia (coming soon) for specific terrain and recommendations on tyres and suspension.
Handle bar grips:

Changed to Ergon GP3 grips for better comfort.
Added Thumbs Over Grip System (TOGS) for climbs and additional hand grip positions.
The standard Birdy stock grips are so basic and just plain horrid. I found that my right hand became numb after about 1.5 hours of riding, even without excessive gripping and braking. Perhaps I’m more used to the variety of positions that the drop bars on my road bike offer. I’ve tried both the GP2 and GP3, but it’s really up to your preference. The 130mm bar ends on the GP3 are perfect for me, because they significantly increased my comfort level. Meanwhile, the TOGS is an accessory more commonly used by mountain bikers. I just wanted additional hand grip positions when riding, plus it looks pretty cool ☺. I have contemplated switching to drop bars, but for now, I’m pretty happy with these changes.
Pedals: I didn’t have any issue with the stock pedals, but chose to switch to MKS EZY quick release pedals for better ease in removing pedals for packing, or even just for folding and storing. Otherwise, the pedals can get in the way and bang you in the shin at times (ouch!). The spring-loaded cylindrical end makes removing it effortless and quick since you don’t need a wrench. Use the plastic clips to keep the mechanism secure during your rides. You don’t want your pedals falling off when you’re on the bike. These pedals are compatible with toe clips and toe straps, if that’s your preference. Bonus point: My clips are yellow in colour!
Touring Essentials
Other accessories and touring gear that I absolutely love:

OEM from GW Cycle Boutique.
Rear racks with 4 roller wheels: tremendously eases the wheeling of the bike when it’s folded, both for commuting and for touring. There were areas where I needed to fold the bike because riding was not permitted (train station, malls, underpass, in trains and buses, etc). But of course, the main purpose was to carry bags or panniers.

SKS slide cage bottle holder + adaptor: can be mounted on the seat post or stem. They are lightweight as well, moderately stable, and the adaptor is easily removable. Generally, you’d want accessories which you can easily put on and take off when you go touring and need to pack > assemble > disassemble > unpack…. You know the drill ☺

Topeak Mondopack Hydro: lots of accessible pockets and room to carry all essential tools, extra tubes, my Milkman Combo bike lock, Topeak RaceRocket HP Mini pump and some snacks (or any other crap you want to bring during your rides :-P you can fit one whole shoe in there!). Bonus point: It has an external mesh bottle compartment in the back. Coupled with the SKS Bottle Holder, I can bring 2 bottles on long rides. You can alternate between one for just water and one for your sports drinks. Or as proven during many rides, help carry a fellow rider’s bottle because their bottle mount just wasn’t cooperating that day.

Ortlieb Sport-Roller Classic.
Ortlieb Panniers: these are fairly light, made of completely waterproof durable material, and a very good investment for touring. Clips on and lifts easily from the rear rack. Spacious enough for 5 days worth of touring essentials - trust me, I’ve done it ☺. They also come with removable straps to be used as sling bags if you wish. I opted for yellow panniers for visibility and because it matches my bike! If you’re not touring and you’re back home, you can probably use it to store your groceries after shopping at the market ;-P

Topeak Smartphone Drybag: Gives instant rain-proof protection. Clips on and off quickly and can also be used in conjunction with the Topeak Ridecase Mount that swivels and gives a bit more extra space. Do take note though when cycling in hot and humid environments, the phone will heat up if it gets stuck in a drybag for too long. For something more breathable (and if you have an iPhone 7/7p that's splash-proof) you can get the Topeak Ridecase instead.
Summary
Since the upgrades, this Yellow Birdy has toured in Japan, Indonesia, Malaysia and gone on many weekend rides in Singapore (I usually ride up to 75km on weekends). There are obviously more destinations on the horizon! Think about what is important for you and what you want to use your bike for before deciding on the upgrades. More often than not, major upgrades are costly. I hope this article has helped you make your own decisions.

We’ll post another article about packing our bikes for touring soon. Stay Tuned!